I’ve found that when making dolls, it’s the hair really sells it. Many patterns will include instructions for hair, and if you like the look of the pictures that come with them, just follow those.
But there are a couple of tricks I’ve learnt that help me when I’m creating my own amigurumi from scratch, or adapting others.
A wig cap
You can crochet an entire head of hair using this method. You can also create a ‘wig cap’ as the base for a more complex hair style where you want something to attach hair to, or just to keep the head colour from showing through a more sparse wig.
If your doll/amigurumi pattern starts at the head, just follow that pattern in the hair colour. If the pattern starts to decrease and you haven’t got the coverage you need just keep crocheting, either without decreasing, or decreasing a row later to keep it a little bigger than the head.
If your pattern doesn’t start from the head, I’ve found the easiest way is to crochet as if you were creating a hat:
Row 1: crochet 6 single crochets (SC) in a magic circle / magic ring
Row 2: do 2 SCs in each stitch (12 stitches)
Row 3: [2 SCs in first stitch, 1 in next] repeat to end (18 stitches)
Row 4: [2 SCs in first stitch, 1 in each of the next 2] repeat to end (24 stitches)
…continue adding to the pattern (2 in first then 1 in next 3, 2 in first then 1 in next 4, etc) until your wig cap is as wide as the head (you might only need the three rows).
Then do 1 SC in each stitch until you need to start decreasing (if you need to start decreasing).
After each row, try it on to see how it fits. Snug is good: too tight will shrink the head and make it look weird; too loose and it won’t attach well, or will make the head look too big…
When you’re happy with the size, finish off and attach it to the head (or add something else to it first if you wish – see below).
Hair loops
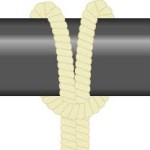 You can add hair to the wig cap by tying individual ‘hairs’ to it. I find the best method is to fold the thread in half then loop it through to make a “lark’s head” or “cow hitch” knot. This works well with normal wool (if you want curly hair, you can unwind the strands apart once tied in). You can also use textured or feathered yarn as well (see below).
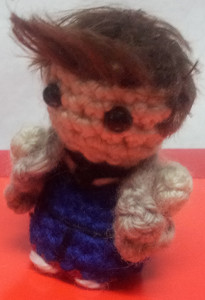
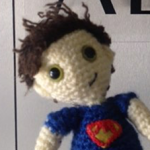
I used this for the hair at the front for Listies performer Matt:
Fluffy hair
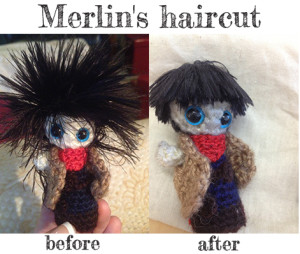
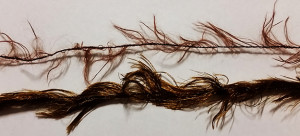 The trick with creating “real” hair you can cut into a style is to use a feathered wool.
It can be hard to work with if you crochet it (e.g. creating a wig cap as above), but is well worth the effort. You can also just sew it straight into a doll’s head. This is where the wig cap can be really helpful – it has already laid down a block of colour, so you can just sew it in rows where you need to and there won’t be obvious gaps.
Once it’s on the head (however you get it there), you’ll want to brush it out (with a doll’s or pet brush) to get all the threads that are tucked under. Then give it a hair cut! This is the nerve-wracking bit – if you cut it wrong, you have to start the hair – or worse, the doll – from scratch.
If it’s a gift, make sure you continue to brush the hair / play with it for a day or so to get all those extra long bits that could be still tucked under the threads. And / or you could also warn the recipient that they may need to return for a hair cut.
Hair styling
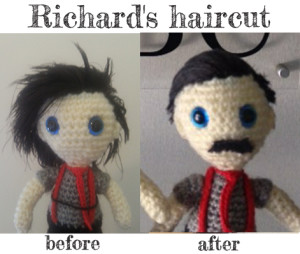
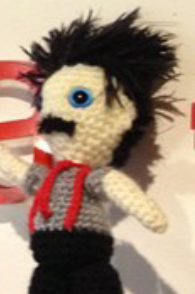
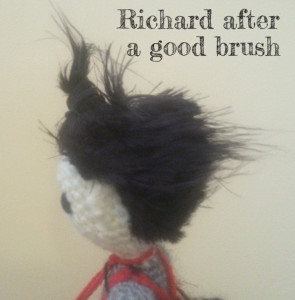
Richard from the Listies has a very smooth hair style and after a couple of months on the road, woolly Rich was looking a bit the worse for wear…
This was when I discovered the magic of fabric glue as mousse / gel.
I applied it with a doll’s brush (so it didn’t just glob all over the place) and made sure he wasn’t lying on it as the glue set, to ensure the style wasn’t mashed.
I now use this for most hair that needs to maintain a certain style. The one place I tend to avoid it is in toys for babies, as they’re likely to sucked on the head… I’ve not yet found a “safe-to-eat” fabric glue…
Do you have any great doll hair tips worth sharing?
